Out of alignment make a series of 1 3 4 in deep kerfs saw cuts every 8 to 10 in.
Straighten existing bathroom wall by cutting bowed studs.
Cut the stud at the apex of the curve or the portion that most juts outward from the center of the stud.
With a handsaw or circular saw cut about two inches into the stud at roughly the midpoint of the bow.
Step 3 straighten and shim the stud.
If you are dealing with slight warps or bows you have the option of using cardboard shims along the face of the wall studs.
When you ve located the site of the bow or curve in the stud use your hand saw to carefully cut about an inch or an inch and a half into the curve.
Expect some relaxation movement here as well.
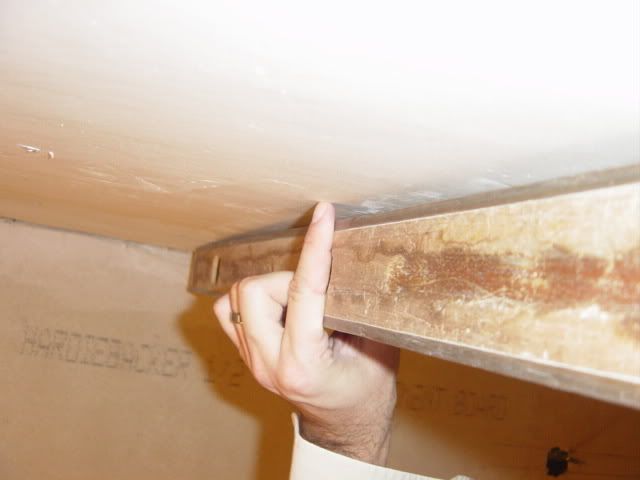
Push or lever the stud 50 past straight and drive a wood shim into the now widened cut.
Slip a single shim into the triangular kerf section that opened up when you straightened the stud.
Essentially the two straight adjacent studs will help to hold the stud in an upright straight position.
Next adjust the stud so that it s fully straight.
The goal is to bring the low points to the high points with shims.
The existing studs still do their job and the new timbers are use to plumb the wall.
As you nail the cuts will close and the board will straighten.
For the pieces that are bowed usually you can fix this by cutting blocking and fastening it between the studs like you mentioned but you will need to put a few in because if you just put it between the crooked one and the one right next to it generally you will just pull the other one out of place as well.
The term sister stud refers to a secondary stud that is installed alongside an existing stud it is usually used to reinforce a stud that has been damaged or is bowed in a manner that compromises its load bearing capacity.
Apply force to the stud straightening it.
If you have a few severely bowed out studs that are more than 1 2 in.
I would start by plumbing each corners stud then sting a line at the top from each corner stud and use this as a guide for susequent timbers.
Sistering can also be done to reinforce floor joists or rafters.
In the bowed area with a circular saw.
It s not unheard of to do this more than once on a severely bowed stud say at 1 3 and 2 3 of its length.
Just fix timber to the side of the existng studs to plumb up the wall.
For example sister joists are sometimes installed to increase the load bearing capacity of a floor so it.
The cut should be made on the concave side of the bowed area.
Toenail a 16d nail through each kerf.
If you ve cut the concave inset side of the stud.